5 Easy Steps to Modifying Your AT-AT Kit
Initially I thought that modifying Lego's new AT-AT
set would be difficult. But strangely enough I found that I could do it
fairly quickly and easily, using pieces I already had laying around the
house.
 |
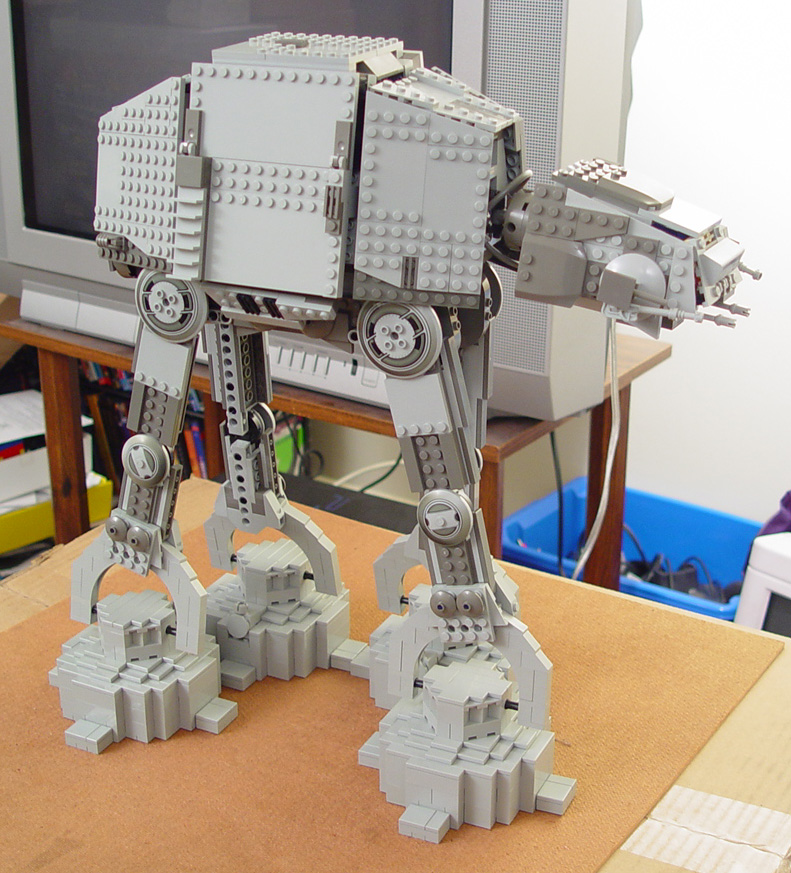
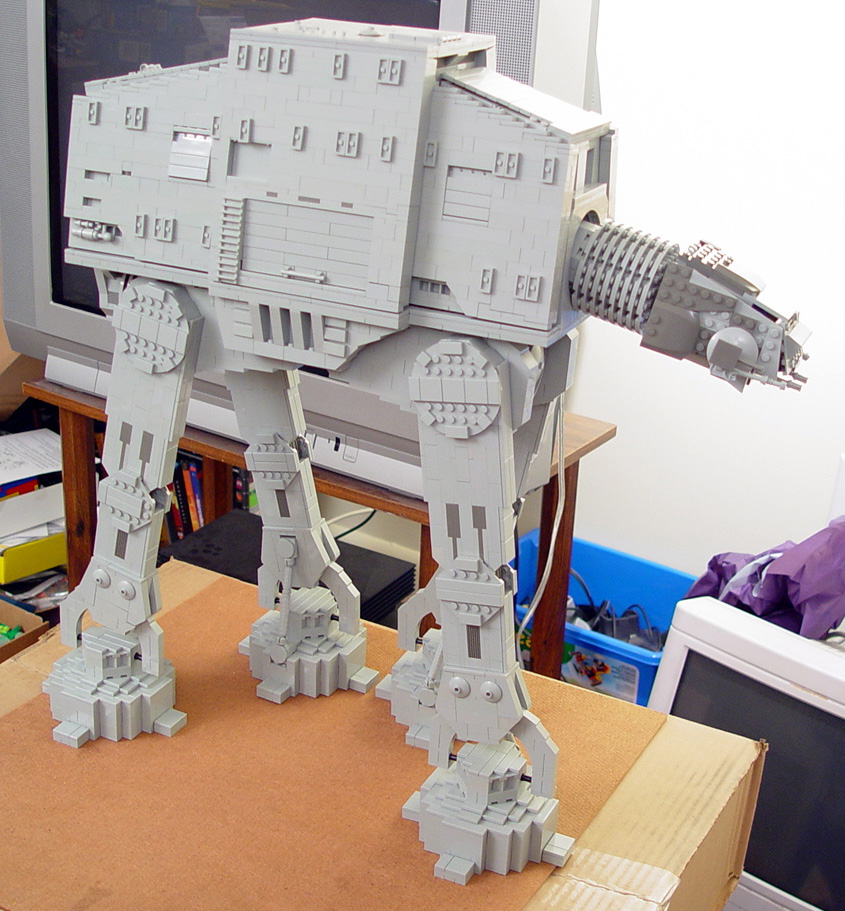
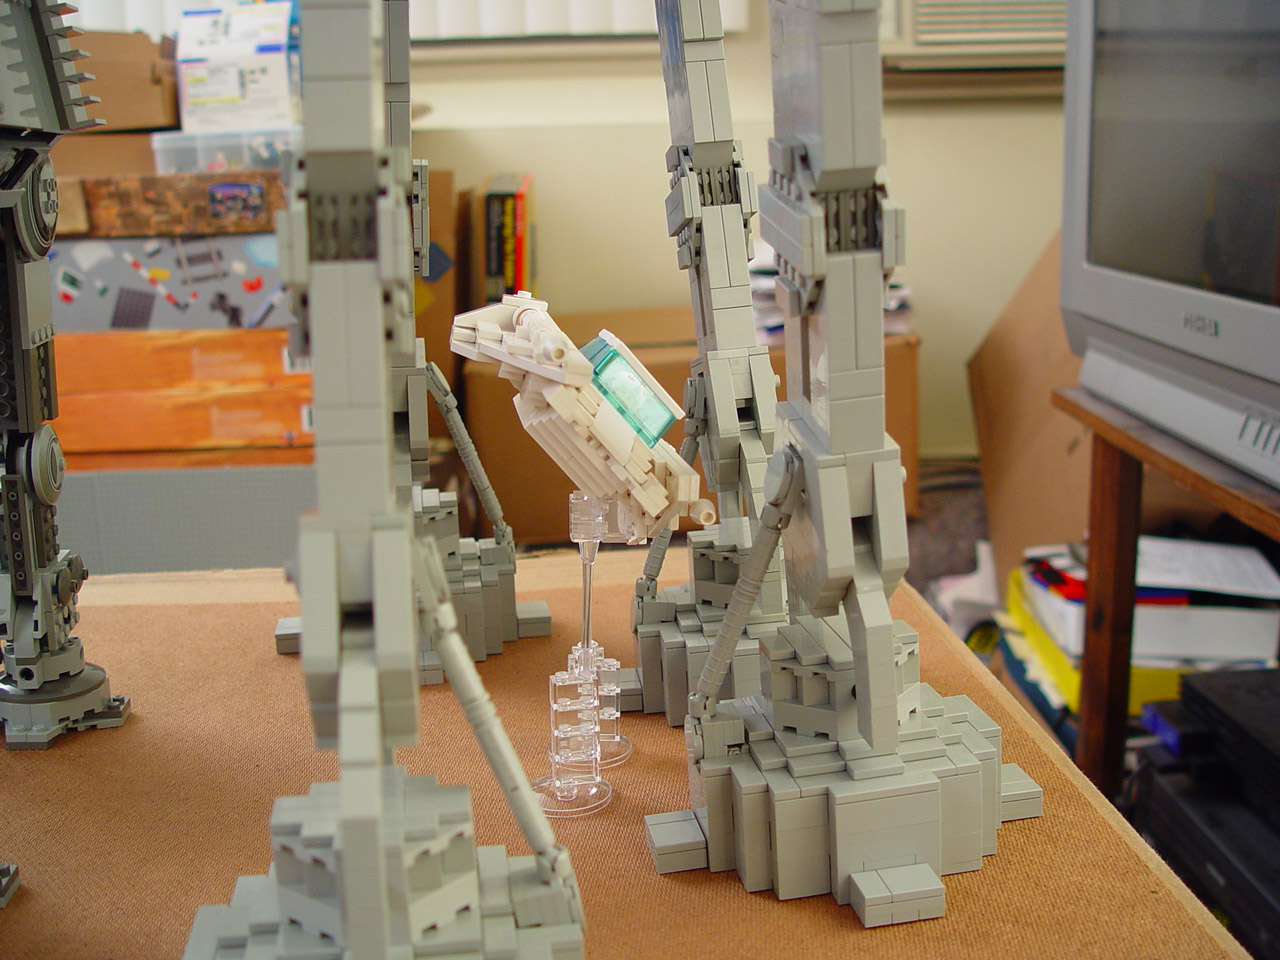
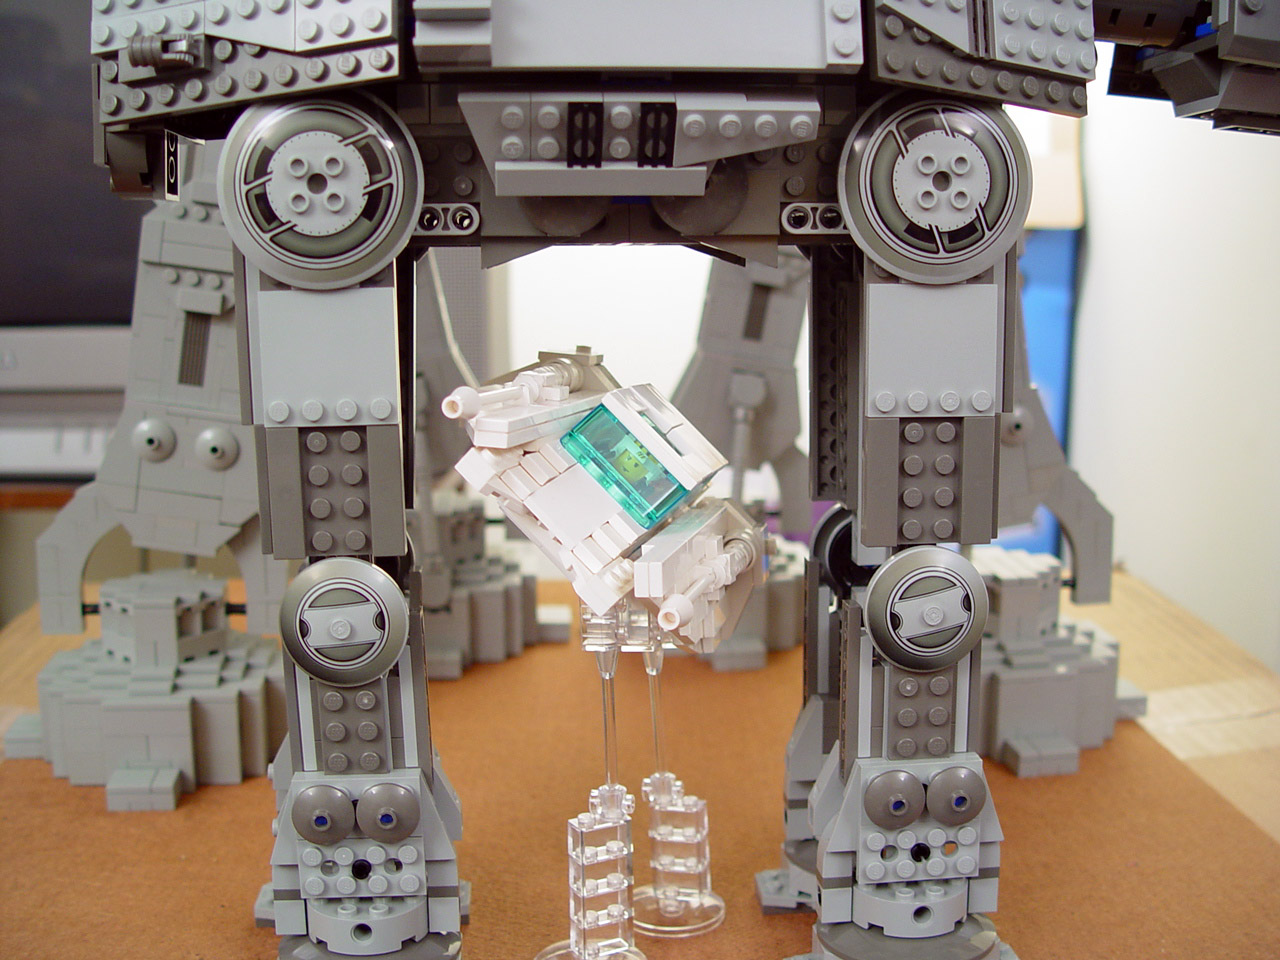
| 1. Start by setting your AT-AT out as assembled from the instructions. |
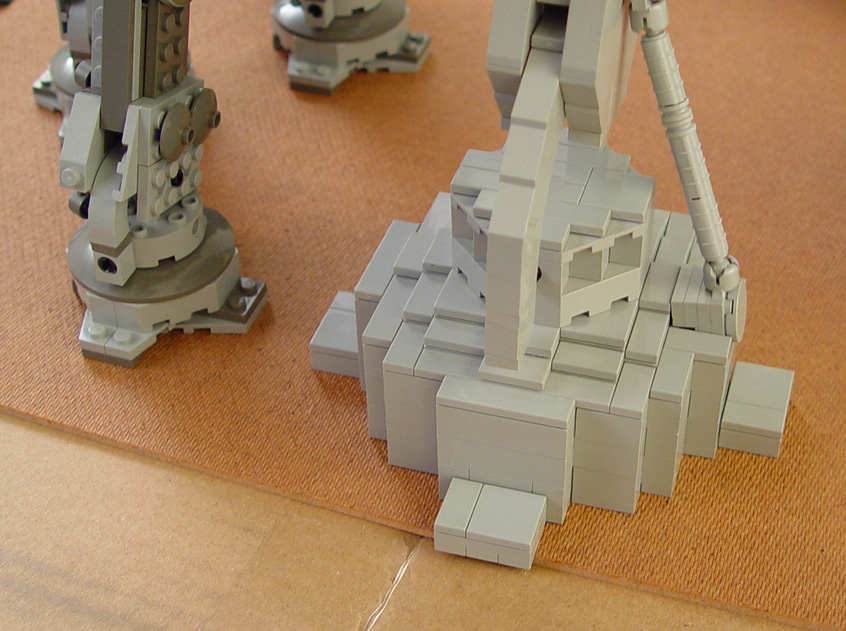
 | | 2. You'll notice first that the feet aren't
quite in proportion to the rest of the model, or to proper scale. Replace the
feet with new feet that are slightly larger. |  | | 3. While the new feet modification grossly
improves the model and we could stop there and have a beautiful looking AT-AT,
you'll notice (if you've done step 2 properly) that the legs are now forced
to bow out to the sides because of the increase in foot size. Therefore, the
legs must also be replaced. | 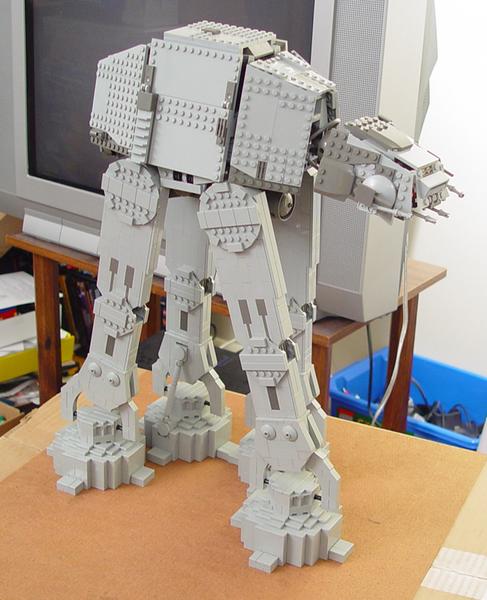 | | 4. After modifying the legs, you may see
that the side guards no longer fit as intentioned. Therefore, we must tweak
the body design just slightly by completely rebuilding it. | 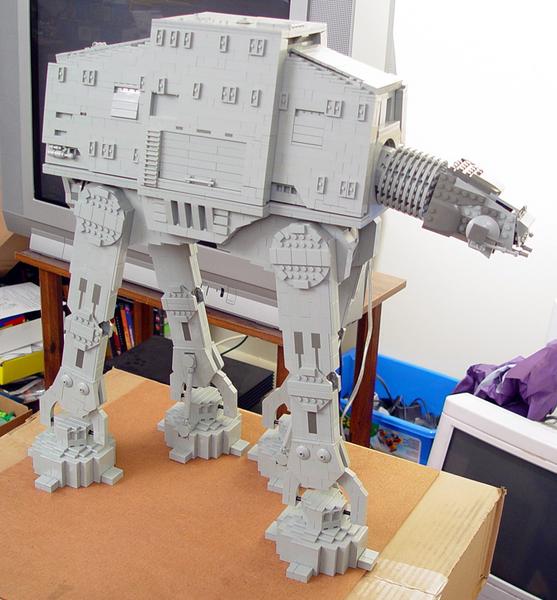 | 5. Although there are no more actual
conflicts in design, you may want to improve on the head design slightly to
give it better proportions.
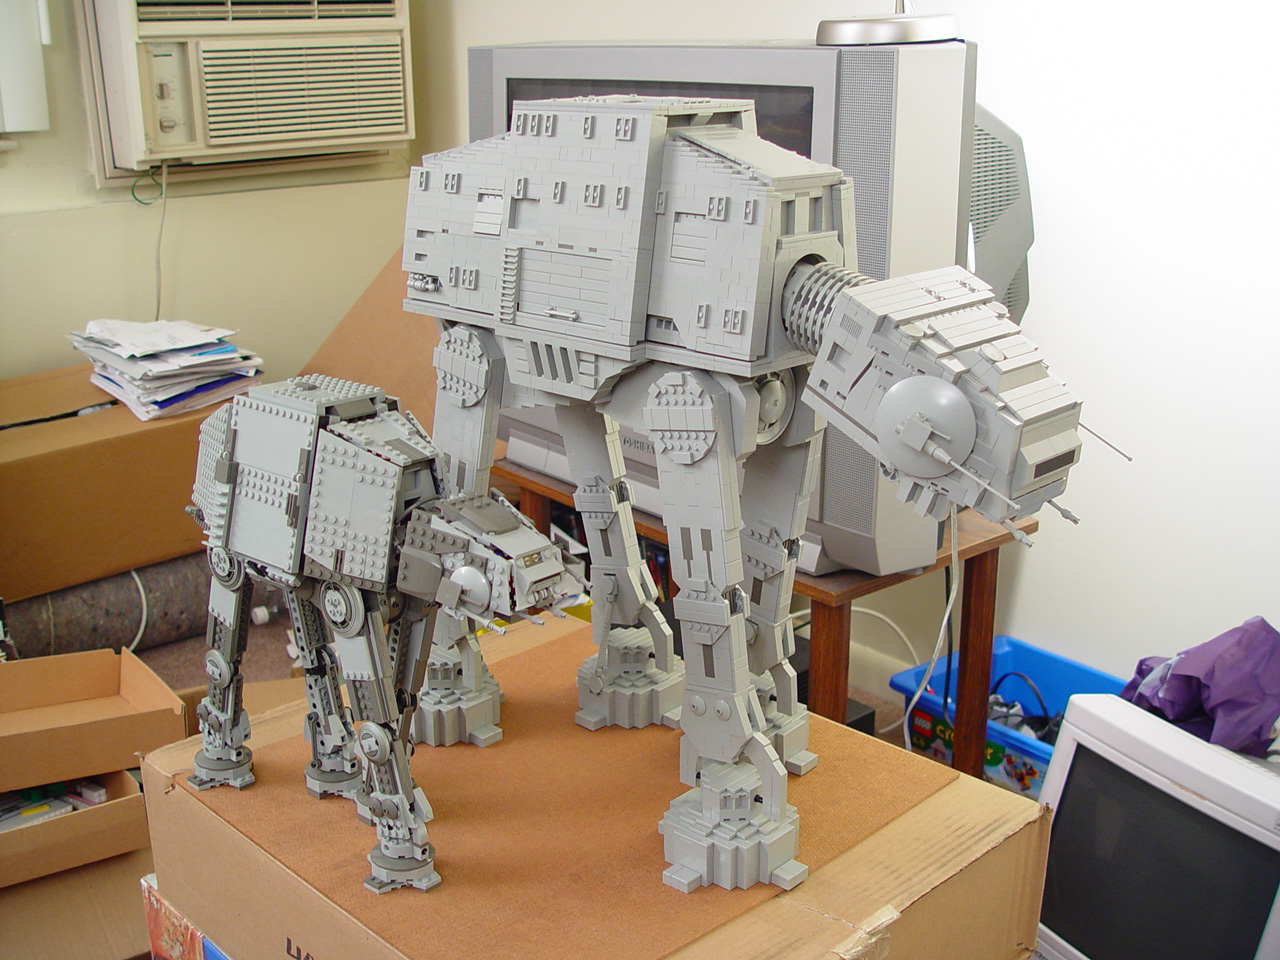
Presto! Now you have an AT-AT you can be
proud of! Wasn't that easy? | 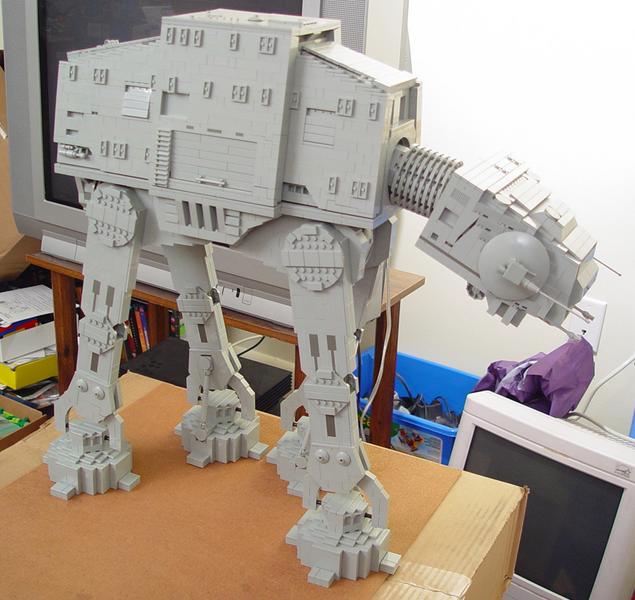 |
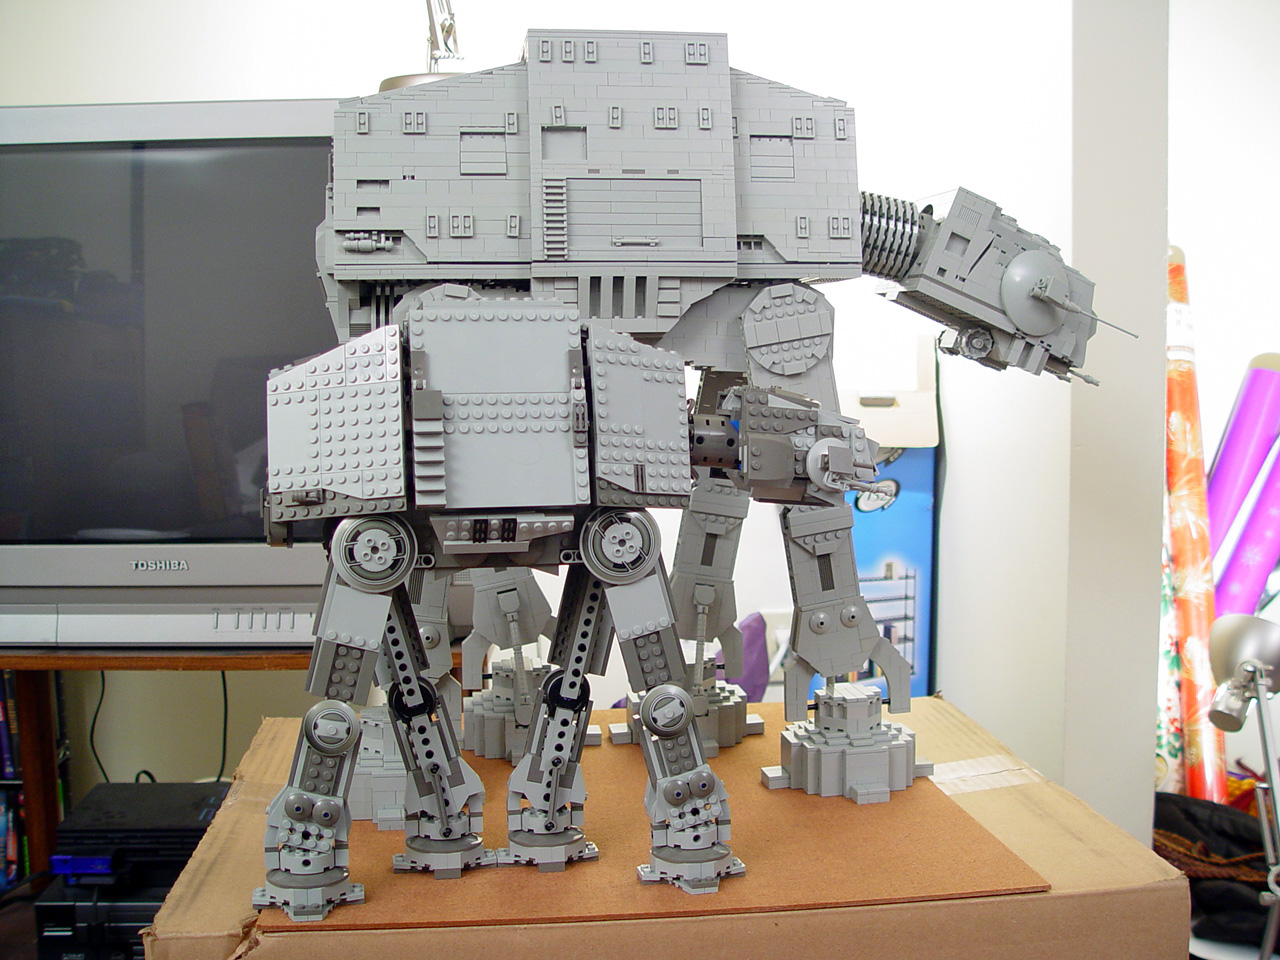
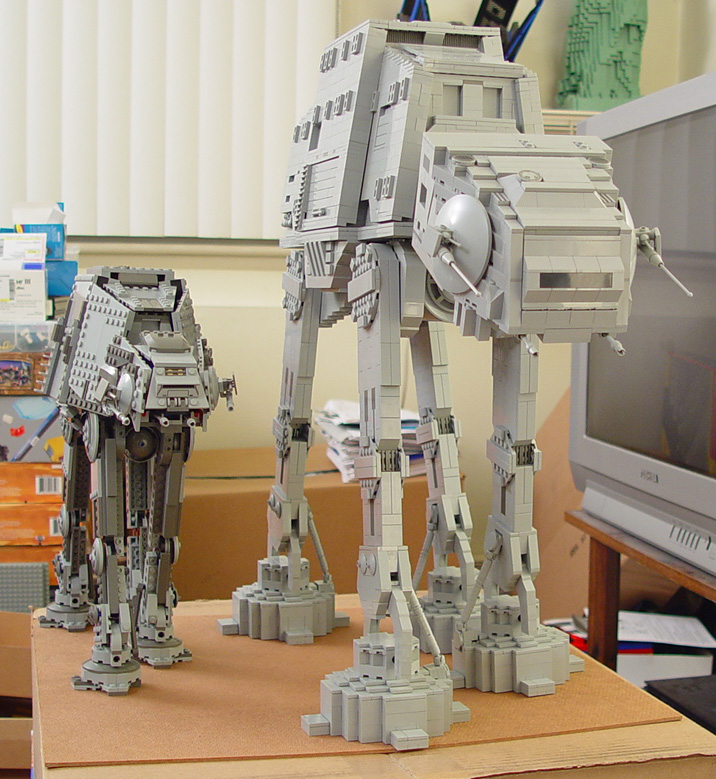
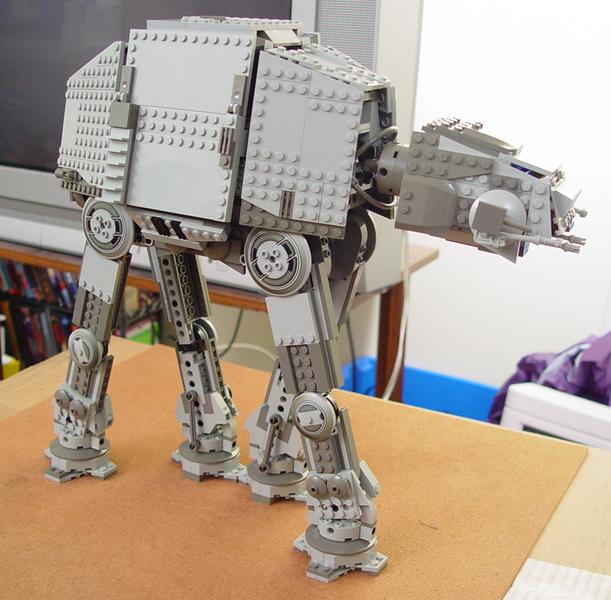
How does the modified AT-AT compare to the actual set? Although the
differences may be hard to spot at first, a closer look reveals quite a few
distinctions between the two models.
|